Coronavirus Inspired "Better than nothing" mask
- Mar 30, 2020
- 3 min read
Updated: Apr 1, 2020
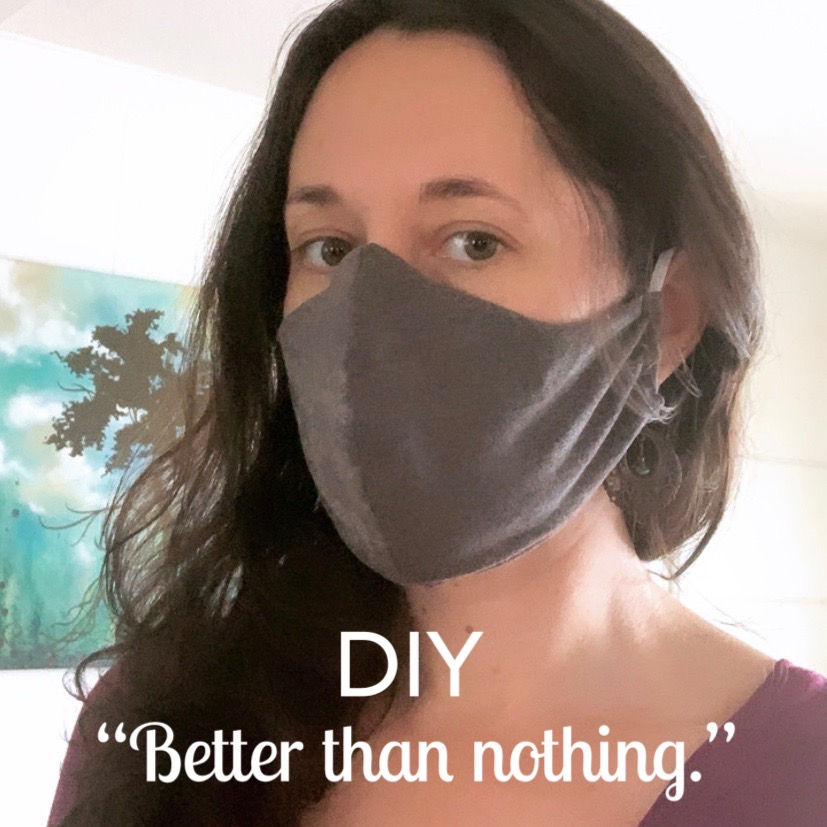
Welcome to the DIY “Better than nothing” mask. The git er' done edition.
I work in an essential industry. Despite my best efforts I am within 6 feet of hundreds of people throughout my work day. My chances of catching something are higher than the average person with all that exposure.
With information coming out of Italy (National Institute of Health (ISS)) that 1 in 10 people have shown NO symptoms and 45% of people showing minor symptoms of coronavirus. I don't want to spread it in my community without even knowing it. I want my germs to be my own.
I would hate to be responsible for spreading this thing and I know medical workers need the medical grade masks to do the real dirty work so I made my own batch of masks. For YOUR protection! (I do not sew. I’m just crafty. Also found all of the stuff I needed laying around my house.)

1 - What you will need: Pattern print out. There are 4 different sizes. Compliments to the maker.
One medium mens cotton shirt will make 5 masks for your work week.
Sewing machine or needle and thread in a pinch
Large eyed needle to thread your elastic through or straight part of a metal clothes hanger.
The plastic coated twist ties (I had some in the bottom of the trash bag box) paperclip might work or other wire it just needs to form to your face.
Some sort of elastic or yarn/string tied to fit
Sharpie to draw pattern on cloth
Scissors and glue gun to fix elastic and twist ties into place.
I plan on hand washing them daily. Air dry.

2 - Sew all your main and lining pieces as shown.

3 - Mirror your main pieces and lining pieces then sew.

4 - Glue your zip ties or wire to the lining side of the inside of the mask. Put the hot glue on the zip tie side and zig zag the glue line across all 4 ties or wires (whatever you are using.) Hold it firmly in place until it cools. You can bend it to form your face first to make it easier to place.

5 - Glue the other side.

6 - This is what it should look like before you turn it right side in.

7 - Sew the channel on both sides for your fastener of choice. (Elastic)

8 - Thread your elastic though. if you don't have a big eyed needle you could push it through with a wire or possibly a pen or arm of wire frame glasses.
To fit the elastic, place the mask on your face then wrap the elastic around your ear and pinch it with your finger to keep your place. I glued it then sewed it for security. Its better to go a bit long then shorter till you get a snug fit. you don't want to breath air from any loose areas.

9 - Outside and inside view. There is a pocket where you can insert an additional disposable filter if you would like.
Remember to wash/disinfect your hands before touching your mask or face. Make your germs YOUR responsibility and do your best to help slow the spread!
Use what you have and do your best. It will always be better than nothing.


Comments